-
Shop
- Advanced Technologies
- AI Skills for Creators & Freelancers
- AI Client Management
- AI Ethics
- AI Mindset
- AI Tools & Prompts
- AI Writing & Content Creation
- Audio, Voice & Music
- Design & Visual Creation
- Email, Messaging & Communication
- Freelancing & Business
- Marketing, Ads & Conversion
- Productivity, Workflow & Automation
- SEO & Search Optimization
- Social Media Content & Growth
- Strategy, Planning & Analytics
- Video Creation & Editing
- AI Skills Mastery 2026 Collection
- Bathroom
- Best-Sellers
- Car Accessories
- Confidence
- Dating & Social Skills
- Digital Resources
- Easter Products
- Education & Learning
- Family & Parenting
- Fashion
- Fashion Accessories
- Furniture
- Gadgets
- Health & Beauty
- Health & Wellness
- Home & Garden
- Home Electronics
- Home Supplies
- Jewelry
- Kids & Babies
- Kitchen
- Lighting
- Patio, Lawn & Garden
- Personal Growth
- Pet Care
- Pet Supplies
- Pets
- Shoes
- Smart Home Living Guides
- Sport & Outdoors
- Stress Relief & Relaxation
- Super Deals
- TikTok Growth & Monetization Mastery
- Travel
- Travel & Adventure
- Wealth
- Wellness
Build a 3D Wooden Owl Clock: DIY Model Kit Guide
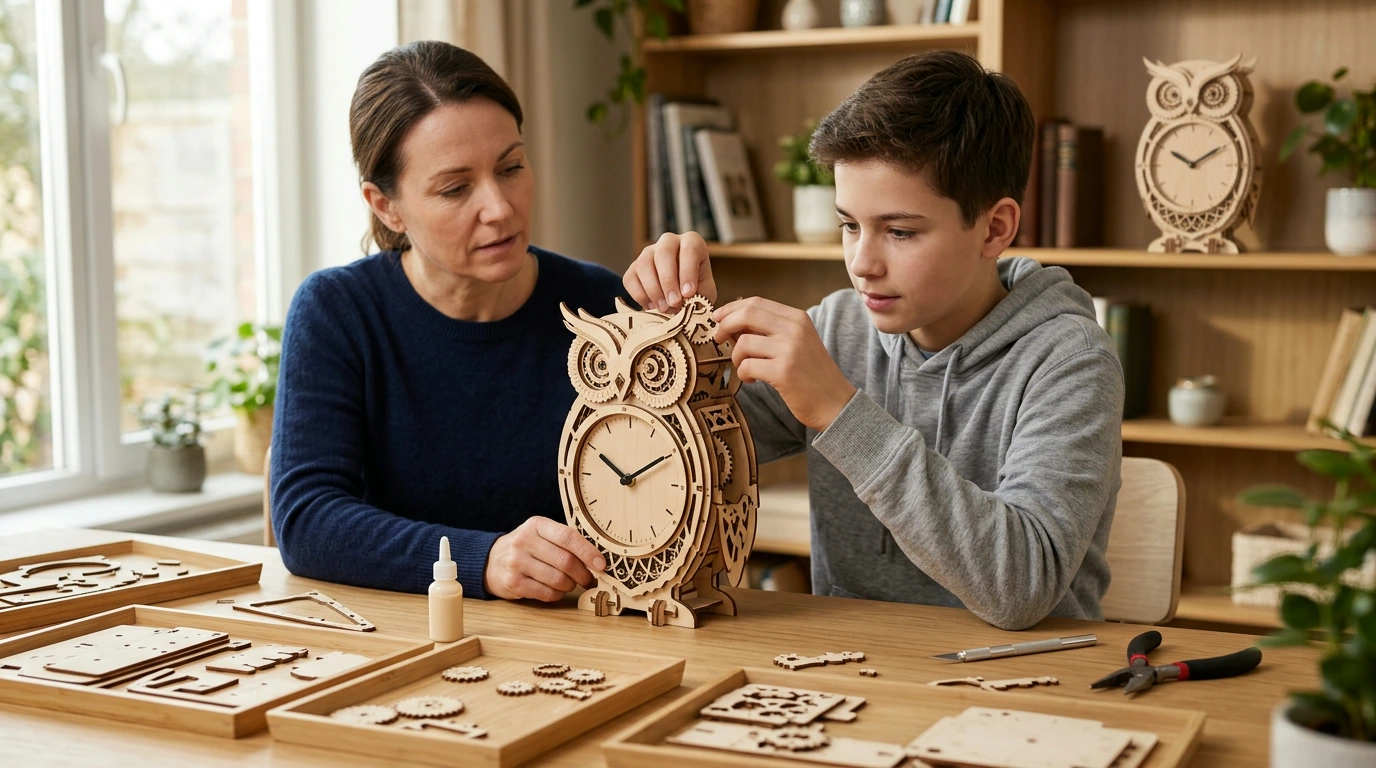
DIY 3D Owl Clock Wooden Model Kit – A Build-Then-Display Project
This DIY 3D owl clock wooden model kit combines hands-on puzzle building with a functional display piece. It’s designed for makers who enjoy assembling wooden models, sharing a screen-free activity with family, or gifting a project that turns into a decorative clock once completed. The owl shape adds character without being overly busy, so it can fit right in on a bookshelf, desk, or craft corner once the last piece clicks into place.
What Makes This Owl Clock Model Fun to Build
This kit hits a sweet spot: it’s enjoyable during the build, and it keeps earning its spot afterward as a usable clock. The step-by-step process feels calming and tangible—sort pieces, follow the sequence, and watch the owl structure take form in visible stages.
- Build-and-display payoff: once assembled, you get a clock you can actually keep on your desk or shelf.
- Owl-themed design: a friendly silhouette that works as decor in a home office, kids’ study area, or hobby nook.
- Made for teens and adults: younger builders can join in with supervision, especially around small parts.
- Slow, satisfying progress: the rhythm of sorting, fitting, and re-checking steps is part of the appeal.
If you’re curious about owls beyond the design inspiration, Britannica’s overview of owls is a solid, quick read.
Who It’s For
This is a good fit for anyone who likes hands-on projects that don’t end up as clutter. It’s especially appealing when you want an activity that feels productive and a finished result that looks intentional.
- Adults: for weekend model-kit sessions, relaxing hobby time, or a mindful break from screens.
- Kids and teens: for builders who enjoy crafts and building sets (adult supervision recommended for small parts and any tools).
- Gift buyers: for birthdays, holidays, or “thinking of you” gifts that feel interactive rather than disposable.
- Groups: for classrooms, clubs, or rainy-day activities that reward patience and careful assembly.
What You’ll Need Before Starting
A little prep makes the build smoother and more enjoyable. A wooden model kit is much easier when pieces stay organized and you’re not searching under papers for a tiny component.
- Clear workspace + good lighting: enough room to lay out parts in small clusters.
- A tray or small container: for tiny components so they don’t roll away.
- Craft readiness: time, patience, and the willingness to re-check steps if something feels tight.
- Clock specifics: if any tool or battery is required for the clock function, confirm details on the product page before you start.
Assembly Tips for a Smoother Build
Wood kits tend to reward gentleness and alignment more than force. A few small habits can prevent cracked parts and reduce the need to backtrack.
- Do a quick parts check up front: catching missing pieces early avoids frustration later.
- Dry-fit first: test the fit gently before applying pressure; forcing pieces can stress thin wood.
- Group by similar shapes: it cuts down on mix-ups and keeps momentum going.
- If it’s too snug, realign: lightly re-seat the joint and adjust the angle rather than pushing harder.
- Take short breaks: precision improves when hands and eyes aren’t fatigued.
Turning It Into a Working Clock
Once the owl is assembled, the clock element becomes the focal feature for daily use. Set it where you’ll enjoy seeing it—on a desk, a bookcase, or a shelf near your craft supplies—so the finished build feels like part of your space instead of a one-time activity.
- Place on a stable, level surface: it keeps the clock face easy to read and helps the build look straight and tidy.
- Avoid high humidity and direct water: protecting the wood helps preserve the finish and fit over time.
- If the hands ever snag: check alignment and confirm nothing is rubbing against the face or housing.
If the clock uses a button battery (or if you keep spares nearby), review the CPSC button battery safety guidance for best practices around storage and handling.
Learning and Development Benefits
This project is more than “just a puzzle.” It builds practical skills that transfer to schoolwork, hobbies, and everyday problem-solving—especially when it becomes a shared build.
- Fine motor control: careful handling and placement supports dexterity.
- Planning and sequencing: following steps in order reinforces structured thinking.
- Focus and persistence: redoing a step is part of the process, not a failure.
- Healthy coaching moments: adults can guide without taking over, letting builders own the result.
Display Ideas and Gifting Occasions
Product Snapshot
| Detail | Value |
|---|---|
| Product | DIY 3D Owl Clock Wooden Model Kit |
| Price | $44.82 USD |
| Availability | In stock |
| Stock (listing) | 192 |
| Product page | DIY 3D Owl Clock Wooden Model Kit |
| Materials / components | Wooden model kit (full contents not specified in listing data) |
| Age guidance | Adults & kids (supervision recommended for younger builders) |
More In-Stock Finds
- Armani Exchange Men’s Sneakers
- Triple-Sided Ultra-Fine Soft Bristle Toothbrush for Enhanced Oral Health
- Universal Car Steering Wheel Phone Mount for Safe Navigation
Care, Storage, and Safety Notes
FAQ
Is this kit better for adults or kids?
It works well for both. Adults and teens often enjoy building it independently, while younger kids typically do best with adult supervision—especially when sorting small parts and aligning tighter joints.
How long does assembly usually take?
Assembly time varies by experience and pace, but many builders finish in a few hours. Going slowly, dry-fitting pieces, and taking short breaks usually leads to cleaner alignment and a more satisfying result.
Does it work as a real clock after building?
Yes, it’s designed to function as a clock once assembled. Check the product page for the latest specifics on the clock mechanism and any battery requirements.
Recommended for you


Was this article helpful?
Yes
No








Leave a comment