-
Shop
- Advanced Technologies
- AI Skills for Creators & Freelancers
- AI Client Management
- AI Ethics
- AI Mindset
- AI Tools & Prompts
- AI Writing & Content Creation
- Audio, Voice & Music
- Design & Visual Creation
- Email, Messaging & Communication
- Freelancing & Business
- Marketing, Ads & Conversion
- Productivity, Workflow & Automation
- SEO & Search Optimization
- Social Media Content & Growth
- Strategy, Planning & Analytics
- Video Creation & Editing
- AI Skills Mastery 2026 Collection
- Bathroom
- Best-Sellers
- Car Accessories
- Confidence
- Dating & Social Skills
- Digital Resources
- Easter Products
- Education & Learning
- Family & Parenting
- Fashion
- Fashion Accessories
- Furniture
- Gadgets
- Health & Beauty
- Health & Wellness
- Home & Garden
- Home Electronics
- Home Supplies
- Jewelry
- Kids & Babies
- Kitchen
- Lighting
- Patio, Lawn & Garden
- Personal Growth
- Pet Care
- Pet Supplies
- Pets
- Shoes
- Smart Home Living Guides
- Sport & Outdoors
- Stress Relief & Relaxation
- Super Deals
- TikTok Growth & Monetization Mastery
- Travel
- Travel & Adventure
- Wealth
- Wellness
5-Gallon Brewing Kettle: Thermometer + Ball Valve Guide
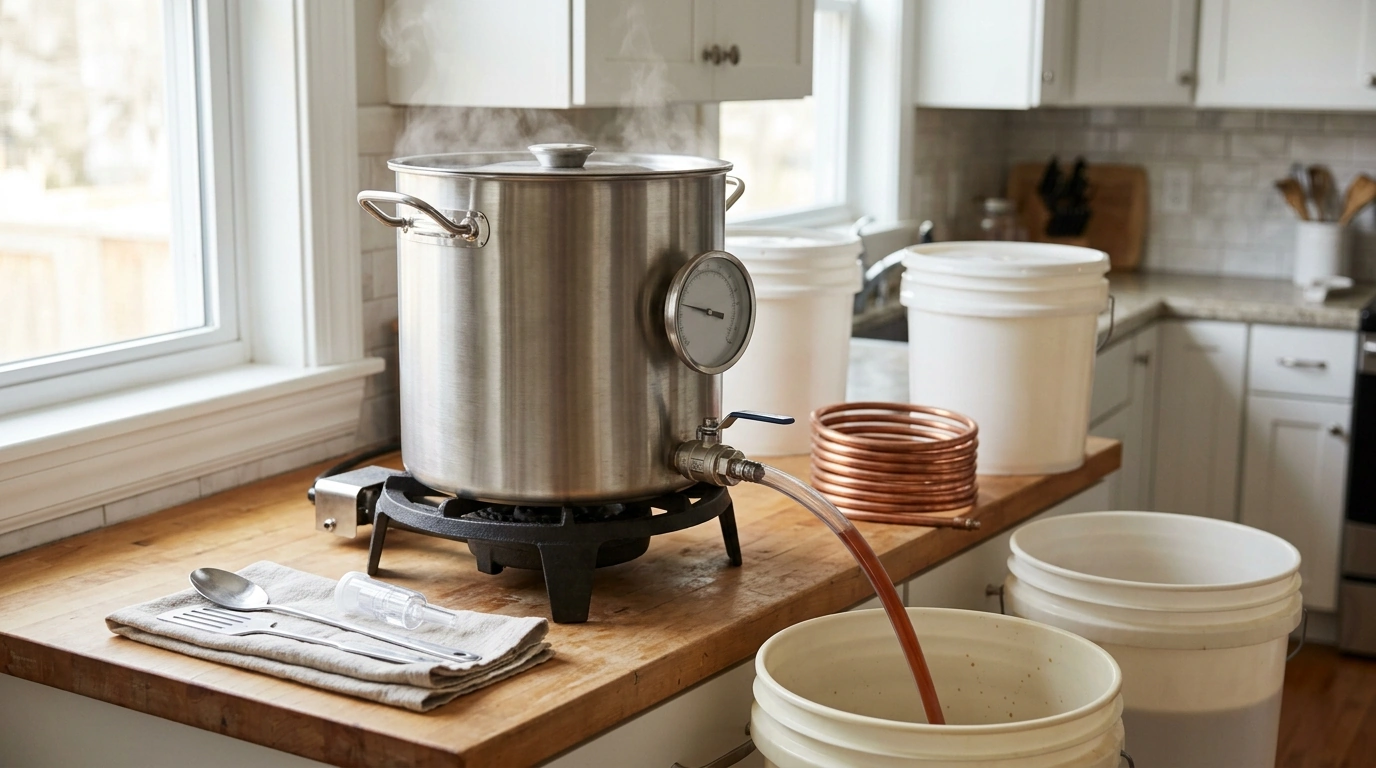
5 Gallon Stainless Steel Brewing Kettle with Thermometer & Ball Valve
A 5-gallon stainless steel brewing kettle with an integrated thermometer and a ball valve simplifies homebrew days by keeping temperature checks and transfers under control. This setup is designed for smoother heating, clearer monitoring during steeping or boils, and cleaner draining into a fermenter—without awkward lifting or messy siphons. For more guidance, see Brew kettle thoughts – Systems, Gear, & DIY.
What Makes This Kettle Setup Useful
A 5-gallon kettle hits a practical sweet spot for many homebrewers: it’s compact enough for small spaces, yet capable enough for extract, partial-mash, and smaller all-grain batches. When you add an onboard thermometer and a ball valve, the workflow becomes more predictable and less stressful—especially during the busiest parts of brew day. For further reading, see 16 GALLON BREWER’S BEST BASIC BREWING POT (kettle).
- 5-gallon capacity suited to small-batch brewing, partial boils, and concentrated wort boils topped up in the fermenter.
- Stainless steel build for durability, heat tolerance, and easy cleanup with common brewery-safe cleaners.
- Built-in thermometer helps track mash steps (when used in a brew-in-a-bag workflow) and boil transitions without constant handheld checking.
- Ball valve supports controlled transfers to reduce spills and minimize hot-side aeration from sloshing.
Quick Specs and At-a-Glance Details
Before the first batch, it’s worth doing a fast “dry check” of the parts that affect accuracy and mess prevention. A readable dial, smooth valve action, and tight fittings make a bigger difference than most upgrades later.
- Key components to look for in use: a readable dial thermometer, a smoothly operating valve handle, and leak-free fittings.
- Plan the brew day around kettle volume: leave headspace to manage foam and boil-over risk.
- Confirm how the valve interfaces with tubing (typical brewer tubing sizes may need an adapter depending on the included barb/threads).
At-a-Glance Comparison for a 5-Gallon Brewing Kettle Setup
| Feature | Why It Matters | What to Check Before Brewing |
|---|---|---|
| 5-gallon capacity | Determines batch size and boil headspace | Allow extra room for foaming; use anti-foam or manage heat-up carefully |
| Stainless steel construction | Durability and easy sanitation | Inspect for dents, sharp edges, and lid fit (if included) |
| Integrated thermometer | Faster temperature checks while heating | Verify the dial reads consistently (ice-water and boiling-water tests) |
| Ball valve | Cleaner, controlled draining into fermenter | Hand-tighten fittings, test with water for leaks, confirm smooth open/close |
| Transfer workflow | Reduces heavy lifting and spills | Plan tubing, clamps, and a stable kettle stand height for gravity draining |
Thermometer: How to Use It for Better Control
The built-in thermometer is most valuable during the “in-between” moments—when water is climbing toward strike temperature, when steeping needs stability, and when the kettle is approaching boil. Those are the times when a few degrees can change your timeline or increase boil-over risk.
- Use the thermometer during heat-up to avoid overshooting strike water temperatures for steeping grains or BIAB workflows.
- During the boil, watch for the approach to a rolling boil to reduce boil-over events (especially right after adding extract or hops).
- Calibrate for confidence: compare readings at ice water (~32°F / 0°C) and boiling point (varies with altitude).
- Keep the dial clean; avoid harsh abrasives that can cloud the face or damage markings.
Altitude matters for the boiling-point test. If you’re above sea level, use a trusted reference for expected boiling temperature so you’re not “correcting” a thermometer that’s actually right for your location (see Colorado State University Extension’s reference on altitude and boiling point).
Ball Valve Transfers: Cleaner Draining and Less Mess
A ball valve turns an awkward, risky moment—moving hot wort—into a controlled pour. With gravity doing the work, the goal is steady flow with minimal splashing and no drips around the fittings.
- Practice a water-only run first to learn how quickly the valve flows and to verify leak-free connections.
- Use heat-safe tubing and clamps; route tubing to the bottom of the fermenter to reduce splashing.
- If using a hop bag or kettle filter, position it to avoid clogging the valve during drain.
- After use, open and close the valve while rinsing to flush residue; disassemble periodically if the design allows.
Brew Day Flow with a 5-Gallon Kettle
With a smaller kettle, planning and pacing matter. Keeping headspace, watching foam, and staging your tools prevents last-second scrambling.
For deeper process fundamentals and troubleshooting, John Palmer’s How to Brew is a long-running reference used by many homebrewers.
Cleaning, Maintenance, and Long-Term Care
Common Issues and Simple Fixes
Who This Kettle Fits Best
In-Stock Picks
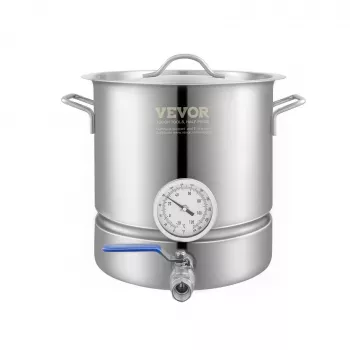
- 5 Gallon Stainless Steel Brewing Kettle with Thermometer & Ball Valve ($94.32)
- Universal Car Steering Wheel Phone Mount for Safe Navigation ($1.80)
- Triple-Sided Ultra-Fine Soft Bristle Toothbrush for Enhanced Oral Health ($1.52)
FAQ
Is a 5-gallon kettle big enough for a full 5-gallon batch?
It can be tight for a full-volume 5-gallon boil because you need headspace for foam and hop additions. Many brewers use concentrated boils in a 5-gallon kettle and top off with clean water in the fermenter; for full-volume boils, a larger kettle is usually safer.
How do the thermometer and ball valve help compared with a basic stockpot?
The thermometer cuts down on guesswork during heating, steeping, or BIAB steps because temperature is visible at a glance. The ball valve enables controlled transfers with less lifting and fewer spills, which is especially helpful when moving hot wort.
How should the ball valve be cleaned to prevent off-flavors or buildup?
Rinse with hot water right after use and cycle the valve open and closed as you rinse to flush residue. Periodically disassemble (if the design allows), clean with a stainless-safe brewery cleaner, then dry thoroughly and check gaskets before storing.
Recommended for you


Was this article helpful?
Yes
No






Leave a comment