-
Shop
- Advanced Technologies
- AI Skills for Creators & Freelancers
- AI Client Management
- AI Ethics
- AI Mindset
- AI Tools & Prompts
- AI Writing & Content Creation
- Audio, Voice & Music
- Design & Visual Creation
- Email, Messaging & Communication
- Freelancing & Business
- Marketing, Ads & Conversion
- Productivity, Workflow & Automation
- SEO & Search Optimization
- Social Media Content & Growth
- Strategy, Planning & Analytics
- Video Creation & Editing
- AI Skills Mastery 2026 Collection
- Bathroom
- Best-Sellers
- Car Accessories
- Confidence
- Dating & Social Skills
- Digital Resources
- Easter Products
- Education & Learning
- Family & Parenting
- Fashion
- Fashion Accessories
- Furniture
- Gadgets
- Health & Beauty
- Health & Wellness
- Home & Garden
- Home Electronics
- Home Supplies
- Jewelry
- Kids & Babies
- Kitchen
- Lighting
- Patio, Lawn & Garden
- Personal Growth
- Pet Care
- Pet Supplies
- Pets
- Shoes
- Smart Home Living Guides
- Sport & Outdoors
- Stress Relief & Relaxation
- Super Deals
- TikTok Growth & Monetization Mastery
- Travel
- Travel & Adventure
- Wealth
- Wellness
Kitchen Counter Reset: Clear Space in One Afternoon
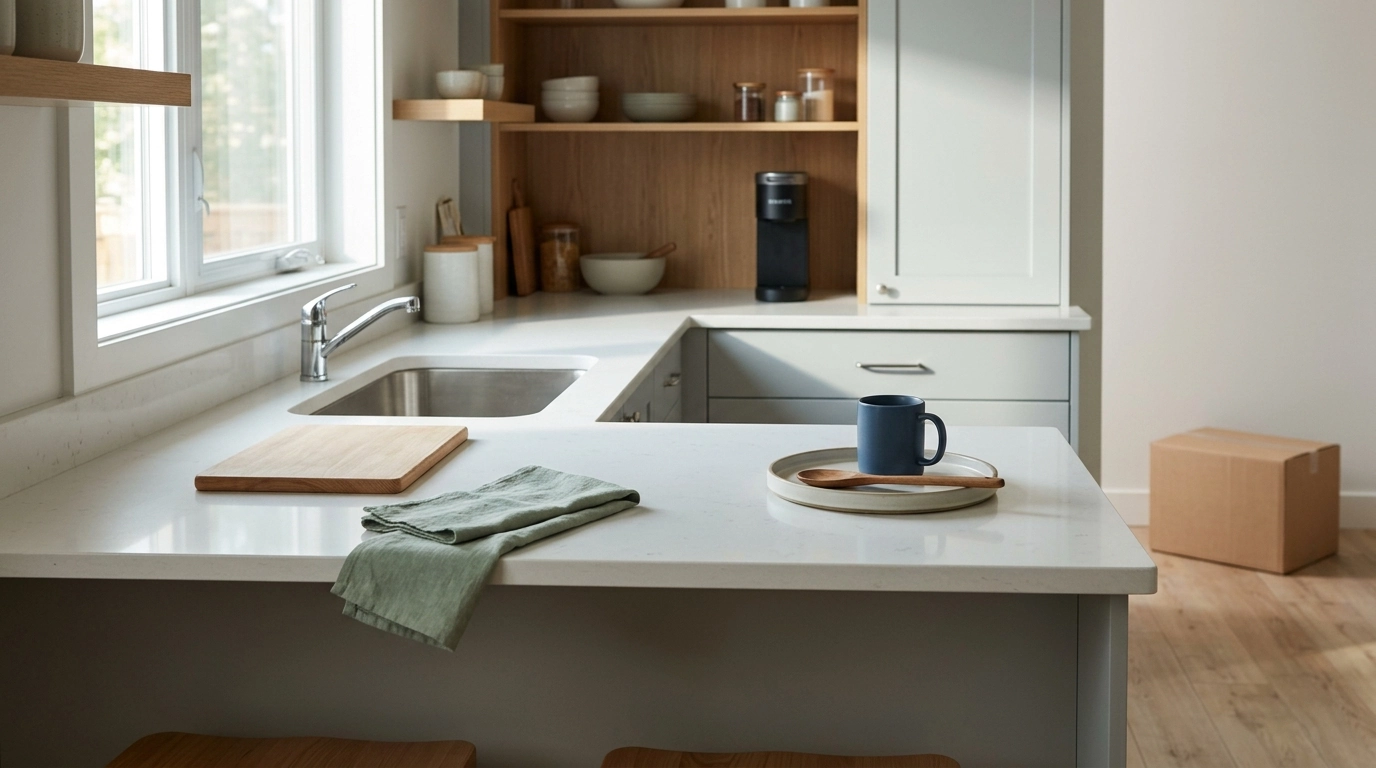
More Counter Space, Less Chaos: A Simple Checklist to Reset Your Kitchen in One Afternoon
Crowded counters make cooking harder, cleaning slower, and mornings more stressful. A quick reset works best when it follows a clear order: remove what doesn’t belong, give everyday tools a home, and protect a few “no-clutter zones.” Below is a practical, step-by-step counter reset you can finish in an afternoon—plus a checklist-style routine you can repeat anytime the chaos creeps back.
Start with a 10-minute counter reset (before organizing anything)
Before bins, labels, or drawer dividers, clear the visual noise. This first pass creates instant space and helps decisions feel easier.
- Clear everything into three temporary zones: “Keep on counter,” “Put away,” and “Relocate/Donate.” Use the kitchen table or floor as staging if needed.
- Wipe counters and backsplash so returning items feels intentional instead of automatic. A clean surface also makes it easier to spot the true clutter.
- Identify your top three “pile starters” (often mail, small appliances, water bottles, and kid items) and decide where each will live instead.
- Set a timer for quick decisions. Momentum beats perfection—especially on the first pass.
For food-safe cleaning basics, the USDA’s guidance is a helpful reference for kitchens where prep happens daily: USDA: Clean Kitchens—Food Safety Basics.
Choose your “no-clutter zones” (the calm space rule)
A clear counter is easier to keep clear when there’s a protected “calm space” that never becomes storage.
- Pick 1–2 stretches of counter that stay empty at all times—common wins are the prep zone near the sink and a landing strip beside the stove.
- Define what is allowed (for example: cutting board only, or a coffee mug only while in use).
- Create a visual boundary if it helps: a single tray for the “allowed” item, or nothing at all for a true clear zone.
- If an item can’t earn a spot, it needs a home elsewhere—cabinet, drawer, pantry, or donation box.
Make everyday items easier to put away than to leave out
The goal isn’t to hide everything; it’s to make “put away” the path of least resistance.
- Store by frequency: daily items at arm level, weekly items slightly higher/lower, rarely used tools up high or in deeper storage.
- Create a “first-drawer win” near your main prep zone with the tools you reach for most (knife, peeler, measuring spoons).
- Pull duplicates out of prime space (extra travel mugs, too many spatulas, backup gadgets) and keep only what fits neatly.
- Use vertical space: door racks for wraps, slim bins for packets, and file-style organizers for cutting boards and lids.
Small appliances: decide what truly deserves counter space
Appliances are often the biggest counter “square-foot thieves.” Keep what supports your routine and move the rest to storage that’s easy to access.
- Leave out only what you use 4–5 times per week (adjust based on your household’s rhythm).
- Group accessories in one bin so moving an appliance off the counter doesn’t mean losing parts.
- Create a simple “appliance garage” shelf near an outlet so put-away feels realistic.
- If you must clear space to use it, it’s a candidate for relocation or replacement.
Keep Out or Put Away? Quick Appliance Guide
| Item | Keep on Counter When… | Put Away When… | Best Storage Spot |
|---|---|---|---|
| Coffee maker | Used daily and located near mugs/filters | Counter is tight or you drink coffee less often | Near an outlet; filters + pods in a nearby bin |
| Toaster | Used most mornings and easy to wipe under | Only used on weekends or becomes a crumb magnet | Lower cabinet shelf with crumb tray accessible |
| Air fryer | Used several times per week and you have safe clearance | Used occasionally or hard to lift safely | Sturdy lower shelf; keep basket liners nearby |
| Stand mixer | Baking is frequent and lifting is difficult | Used rarely or blocks prep space | Appliance lift shelf or deep cabinet |
| Knife block | No drawer option and you use multiple knives daily | You have a safe drawer insert or magnetic strip area | Drawer organizer or wall-mounted strip |
Keeping the cooktop area clear also supports safer cooking habits. For practical reminders, see NFPA: Cooking Safety.
Paper, mail, and the “landing pad” problem
Papers multiply fastest when they don’t have a container and a quick decision rule.
Containers, wraps, and food storage that doesn’t explode onto counters
Sink-side clutter: keep cleaning supplies tight and tidy
For general cleaning and disinfecting practices, the CDC offers clear, practical standards: CDC: Cleaning and Disinfecting.
A simple 15-minute weekly reset that prevents backsliding
Use a ready-to-follow checklist to make counter space stick
- The “More Counter Space, Less Chaos” Checklist (digital download) for a repeatable, start-to-finish reset.
- Universal Car Steering Wheel Phone Mount for Safe Navigation to keep your phone off the counter when you’re moving between errands and recipes—less “device clutter,” fewer spills.
- Triple-Sided Ultra-Fine Soft Bristle Toothbrush for Enhanced Oral Health as a simple way to reduce “random bathroom items” drifting into the kitchen sink area in shared spaces.
FAQ
What should stay on the kitchen counter?
Keep only items used nearly every day and tied to a specific zone (prep, coffee, cooking). Prioritize safety and easy wipe-downs; if something can be stored within one step, it usually belongs in a drawer or cabinet.
How can counters stay clear with a small kitchen?
Use vertical storage, limit countertop appliances, and contain papers in a tiny tray instead of letting them spread. Protect one no-clutter prep zone so overflow doesn’t take over the only workable surface.
How long does it take to declutter kitchen counters?
A first pass typically takes 30–90 minutes depending on how much has accumulated and whether you’re creating new “homes” for items. Once those homes exist, weekly maintenance resets usually take about 10–15 minutes.
Recommended for you



Was this article helpful?
Yes
No








Leave a comment